
Looking for professional garden lighting design and installation?
We design and install complete lighting schemes across South East England. View our garden lighting design service →
Garden lighting transforms an outdoor space from something you use during daylight hours into a room you can enjoy year-round. Done well, it extends your living space, highlights key features, and creates atmosphere. Done badly, it's glaring, patchy, and makes your garden look smaller.
We've designed lighting schemes across South East England for the last fifteen years. Small courtyard gardens in Dulwich, large family gardens in Sevenoaks, contemporary roof terraces in Islington. The principles stay the same: layer your light, think about what you're highlighting, and resist the temptation to over-light.
This guide covers the design thinking behind effective garden lighting, what fixtures work where, realistic costs for design and installation, and the UK-specific regulations you need to know about.
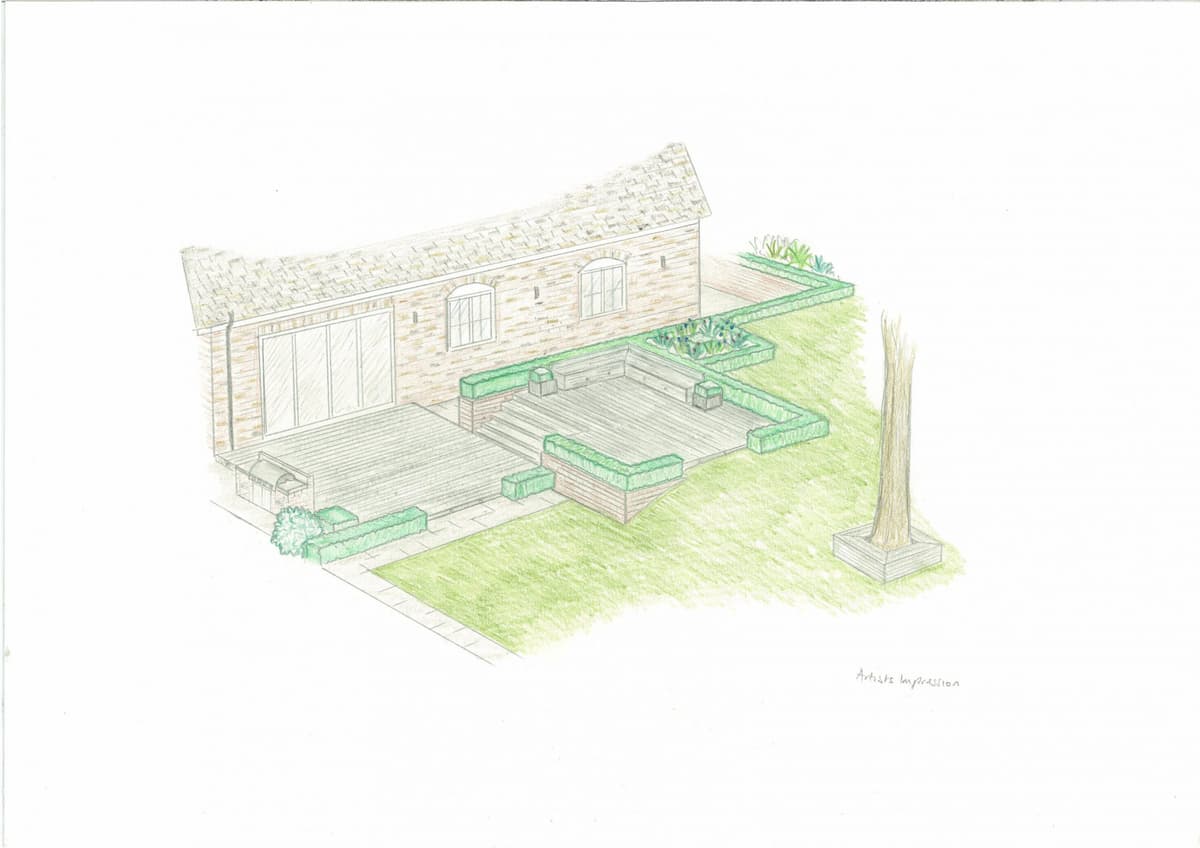
The Three Layers of Garden Lighting
Professional lighting designers work with three distinct layers. Get all three right and your garden will feel balanced, usable, and atmospheric after dark.
1. Ambient Lighting (General Illumination)
This is your base layer. Soft, even light that lets you navigate the garden safely and see the overall space.
What creates ambient light:
- Downlighters mounted on walls or pergolas
- Bollard lights along paths (12-18 inches high, warm white LED)
- Soft uplighting on walls or fences
Common mistake: Using only ambient light. Gardens lit solely with path lights feel flat. You need the other two layers for depth.
2. Task Lighting (Functional Zones)
This is light where you need to do things. Cook, eat, read, navigate steps. Task lighting is brighter and more directional.
Examples:
- Outdoor kitchen: downlighters over the worktop (IP65, 500-700 lumens)
- Dining table: pendant lights or festoon bulbs (2700K warm white)
- Steps: recessed step lights or low-level bollards
- Garden gate: wall-mounted downlighter for security
Task lighting should be 2-3 times brighter than your ambient layer.
3. Accent Lighting (Drama and Focal Points)
Accent lights draw the eye to specific features: trees, sculptural plants, walls, water features. This layer creates depth and makes your garden feel designed.
What to highlight:
- Trees: Spike uplighters at the base (10-15W LED for 3-4m trees)
- Architectural plants: Uplighting on Fatsia japonica, tree ferns, Phormium, grasses
- Walls: Grazers show texture in brick, render, timber
- Water features: Submersible IP68 lights for ponds
The 80/20 rule: Accent lights make up 20% of your fixtures but create 80% of the visual interest.
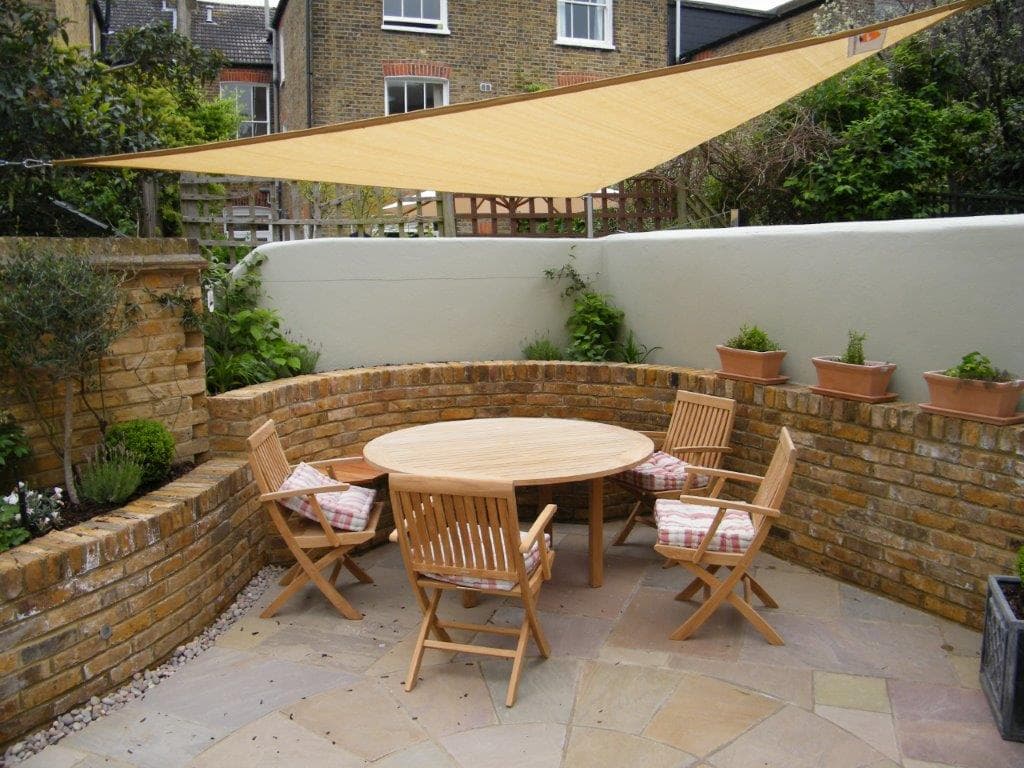
Design Principles That Actually Work
1. Create Depth With Layered Lighting
Light features at different distances. One accent light on a tree at the far boundary, another on a mid-ground planter, task lighting closer to the house. Your eye tracks through the layers.
We designed a 12-metre garden in Greenwich that felt cramped during the day. Three layers of lighting made it feel twice the size at night.
2. Think About What You See From Inside
Stand at your kitchen window. Most gardens are viewed from inside for 80% of the time they're lit.
What works: Uplighting a tree you can see from the sofa. Lighting the seating area so it looks inviting. A focal point at the end of the garden.
What doesn't: Rows of identical path lights (landing strip effect). Bright security floods washing out everything. Lighting only the paving (glare on wet stone).
3. Use Warm White LEDs (2700K)
Cool white LEDs (4000K+) make plants look grey. Warm white (2700K) looks natural and shows autumn colours properly. We specify 2700K for 90% of residential projects.
4. Avoid Over-Lighting
More light does not mean better lighting. If you can see every corner clearly, you've over-lit it. Shadows create depth. Aim for pools of light with dark areas in between.
5. Light What You Want to See, Not the Fittings
The best garden lighting is invisible during the day. Spike uplighters disappear into borders. Recessed step lights sit flush. Avoid elaborate decorative lanterns unless you genuinely like looking at them.
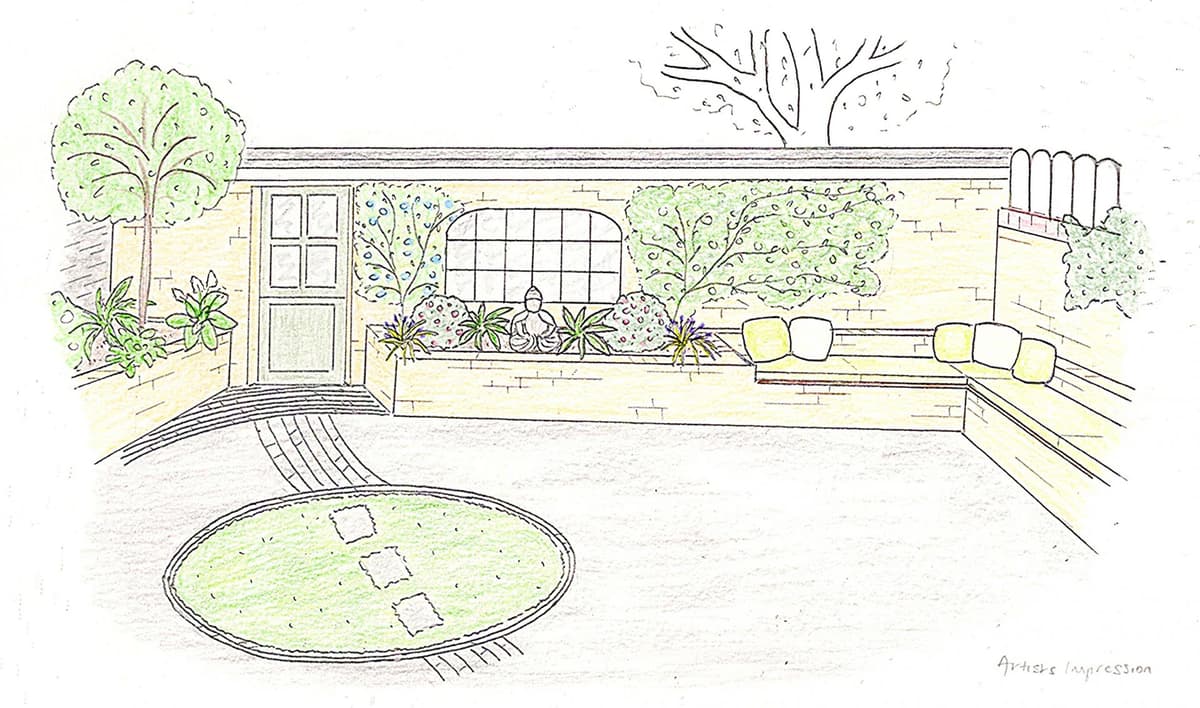
Types of Garden Lighting Fixtures
Spike-Mounted Uplighters
Light trees, shrubs, walls, fences. Adjustable beam angle. £80-£200 per fitting (LED, IP65).
Position 30-50cm from the tree trunk, not right against it. You want light on foliage and branches, not just the trunk.
Recessed Step Lights
Illuminate steps and decks. Sit flush with the surface. £40-£100 per fitting. Requires cable routing before paving is laid.
One per step is overkill. Every other tread works for domestic gardens.
Bollard Lights
Ambient path lighting at 12-18 inches high. £60-£180 per fitting. Space 3-4 metres apart. Avoid solar versions (unreliable in winter).
Stagger them on alternating sides of the path, not in matched pairs.
Downlighters (Wall-Mounted)
Cast light downwards onto paving, seating, planting. £50-£150 per fitting.
Narrow beam (15-25 degrees) for focal points, wide beam (60+ degrees) for general paving.
Festoon and String Lights
Instant atmosphere over seating areas. £80-£250 for 10 metres (LED, warm white, IP65).
You need decent fixing points. Don't drape them over fences. Use screw eyes, steel wire, or purpose-built systems.
Garden Lighting Costs (2026 South East England)
Design Fees
- Small courtyard (15-25 sqm): £500-£800
- Medium garden (60-100 sqm): £1,200-£1,800
- Large garden (200+ sqm): £2,500-£5,000+
What you get: Site visit, scaled plan, specification sheet, supplier recommendations, installation notes.
Installation Costs
12V system (small garden, 6-8 fittings): £1,500-£2,500
Includes transformer, cable, fittings, labour. 1-2 days on site.
Mains voltage system (medium garden, 12-15 fittings): £3,500-£6,000
Includes armoured cable, Part P certification. 3-4 days on site.
Large system (25+ fittings): £8,000-£15,000+
Multiple zones, smart controls, timers. 5-7 days on site.
Running Costs
If you're planning a complete garden design and lighting scheme, we can integrate lighting from the start. Our lighting design service covers concept design through to installation across London, Kent, Surrey, and Essex.
UK Regulations You Need to Know
Part P Building Regulations
Any mains-voltage outdoor electrical work must comply with Part P:
- Must be done by a Part P qualified electrician
- Work must be certified (or notified to Building Control)
- RCD protection mandatory (30mA trip)
- Cables buried at 450mm minimum (750mm under driveways)
Penalty: Invalid home insurance. Missing certificates can delay house sales.
12V systems: If the transformer plugs into an existing outdoor socket, no Part P notification required.
IP Ratings
Every outdoor light has an IP rating (protection against water):
- IP44: Splash-proof. Covered areas only (pergolas, soffits)
- IP65: Jet-proof. Most garden positions (walls, fences, borders)
- IP67: Immersion-proof. In-ground fittings, step lights
- IP68: Submersible. Pond lights, underwater features
Common mistake: Using IP44 festoon lights in exposed positions. They'll fail within a year. Always use IP65 for direct rain.
Listed Buildings and Conservation Areas
If your property is Listed or in a Conservation Area, you may need consent for external lighting.
What triggers consent: Mounting lights on the principal elevation. Visible conduit on historic brickwork. Lights that alter the building's character.
Always check with your Local Planning Authority before starting work.
Mains Voltage vs 12V: Which System?
Mains Voltage (230V)
Advantages: Brighter fittings, no voltage drop, suitable for large gardens
Disadvantages: Must be Part P certified, more expensive to install, higher energy use
When to use it: Large gardens, permanent installations, where you need very bright task lighting.
12V Low Voltage
Advantages: Safer (no shock risk), easier DIY, lower installation cost, flexible
Disadvantages: Voltage drop over long runs (15-20m max), limited total load per transformer
When to use it: Small to medium gardens under 100 sqm, spike uplighters, festoons, path bollards.
Our recommendation: For most domestic gardens, a 12V system gives flexibility, safety, and lower costs.
Common Mistakes to Avoid
1. Lighting the Path, Not the Destination
Path lights on their own create a runway effect. Always light something at the end of the path (tree, bench, urn).
2. Using Too Many Different Fixture Types
Keep it simple. Two or three fixture types creates consistency. Mixing everything makes it look chaotic.
3. Spacing Fixtures Too Evenly
Regimented spacing looks municipal. Cluster lights where you have features, leave gaps where you don't.
4. Forgetting About Glare
If you can see the LED itself, it's glaring. Uplighters should be hidden in planting. Downlighters should have recessed bulbs.
5. Skimping on Transformers
Undersized transformers cause voltage drop and dim lights. Use a transformer rated 20-30% higher than your total load.
What Plants Look Best When Lit?
Trees That Light Well
- Amelanchier lamarckii: Multi-stem, delicate branches, white blossom, autumn colour
- Acer palmatum: Layered branches, fine foliage, red/orange autumn
- Betula (birch): White bark glows under uplighting
- Prunus serrula: Polished mahogany bark
Architectural Plants
- Fatsia japonica: Huge glossy leaves, bold shadows
- Tree ferns: Dramatic frond structure when backlit
- Phormium: Upright sword-like leaves (bronze or variegated)
- Grasses: Miscanthus, Stipa gigantea (glow when backlit)
What to Avoid
Messy shrubs (tatty roses, leggy lavender). Evergreen ground cover (flat green blob). Plants past their best.
Design your lighting for winter interest. If a plant only looks good for eight weeks in summer, it's not worth a dedicated light.
DIY vs Professional Installation
When DIY Works
- 12V plug-and-play systems (transformer plugs into outdoor socket)
- Solar path lights (no wiring)
- Festoon lighting (with secure fixing points)
- Small schemes under 6 fittings
Budget saving: £800-£1,500 vs professional installation.
When You Need a Professional
- Mains-voltage systems (Part P required by law)
- Recessed lighting (coordinate with hard landscaping)
- Large schemes (15+ fittings)
- Smart controls and automation
- Listed Buildings
Why it costs more: Design expertise, technical knowledge, compliance certification.
When it's worth it: If your garden design and landscaping cost £15,000-£50,000, spending £3,000-£6,000 on professional lighting is proportionate. Good lighting makes everything else look better.
For professionally designed lighting schemes across South East England, view our garden lighting design and installation service.
Your First Garden Lighting Scheme
Start simple. Even two or three well-positioned uplighters will transform your garden at night.
Our recommended starter scheme (60 sqm garden):
- 2 x wall-mounted downlighters on the house (lighting terrace)
- 2 x spike uplighters on a feature tree or large shrub
- 1 x festoon run over the seating area (10 bulbs, warm white)
Total cost (DIY, 12V): £600-£900
Installation time: One weekend
Impact: Huge.
If you want a more complex scheme — multiple zones, recessed lighting, smart controls, or a design tailored to your specific garden — we can help.
We work across South East England, from concept plans to full installation management. Your garden is already designed for daylight. Now it's time to make it work after dark.
Get a free garden lighting consultation:
Phone: 0203 834 9807
Email: hello@soilsisters.co.uk
View our lighting design service →
Working across London, Kent, Surrey, Essex, and Buckinghamshire.